Cara Interface Arduino Uno Dengan Hardware I2C LCD 16×2
Cara Interface Arduino Uno Dengan Hardware I2C LCD 16×2
Berikut ini cara menghubungkan Arduino UNO ke LCD 16×2 dengan antara muka I2C.
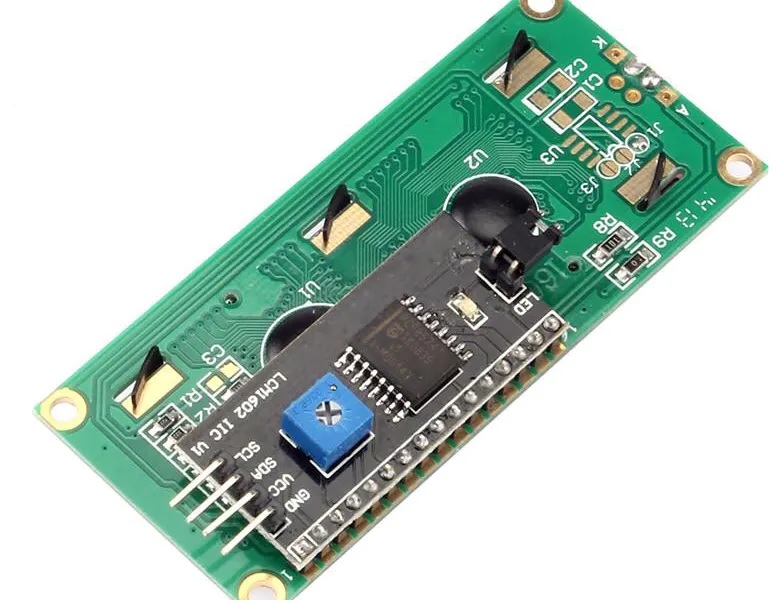
Pertama pasang dulu antara muka I2C ke LCD, dapat menggunakan socket, dapat juga sudah disolder. Antar muka I2C tersebut umumnya menggunakan IC PCF8574.
Tahap selanjutnya adalah menghubungkan Arduino UNO ke antar muka I2C tersebut.
Berikut daftar pin yang perlu disambungkan:
- GND-> ground
- VCC-> +5V
- SDA-> A4
- SCL-> A5
Antar muka I2C tersebut perlu dihubungkan ke pin-pin I2C pada Arduino UNO. Pin SDA pada Arduino UNO adalah pin A4. Pin SCL pada Arduino UNO adalah SCL. Detail pinout pada Arduino UNO dapat dilihat pada gambar berikut ini.
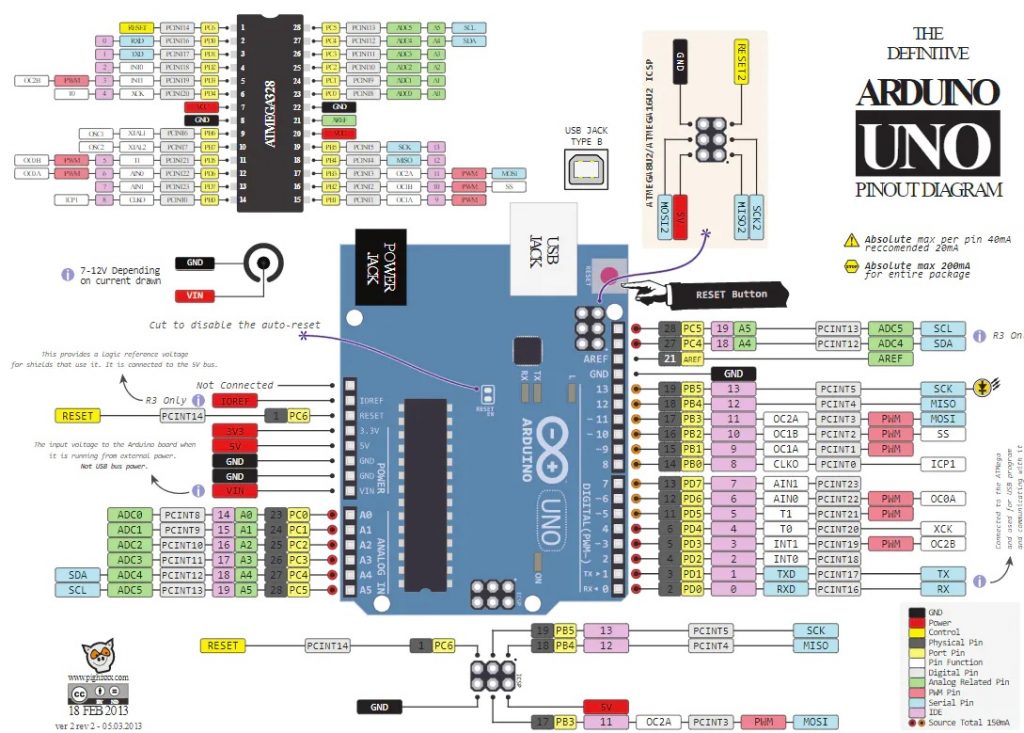
pin SDA dan SCL dapat dilihat di bagian kiri bawah.
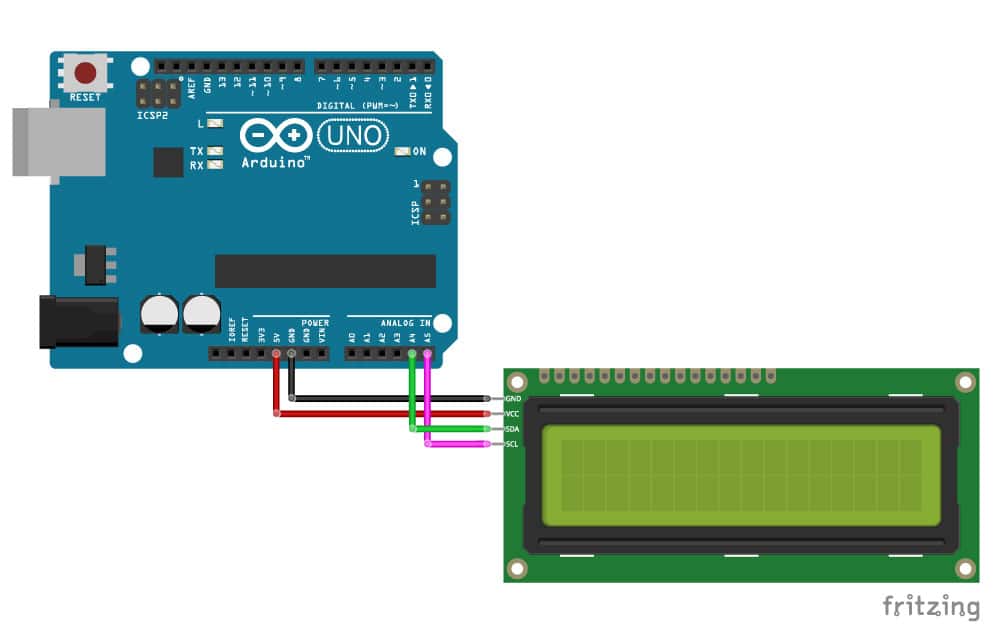
Berikut ini skema hubungan antara Arduino UNO dan LCD I2C 16×12.
Setelah perangkat keras selesai dipasang, berikutnya adalah instalasi library software. Library yang diperlukan adalah library Wire (untuk I2C) dan library LCD (untuk koneksi ke LCD).
Berikut ini tautan library yang diperlukan:
Berikut ini contoh program yang menggunakan LCD 16×2 dengan I2C:
Code for screenC/C++

// |———————————————————————————————————————————————————————|
// |  made by Arduino_uno_guy 11/13/2019                   |
// |   https://create.arduino.cc/projecthub/arduino_uno_guy|
// |———————————————————————————————————————————————————————|


#include LiquidCrystal_I2C.h

#include Wire.h

//initialize the liquid crystal library
//the first parameter is the I2C address
//the second parameter is how many rows are on your screen
//the third parameter is how many columns are on your screen
LiquidCrystal_I2C lcd(0x27, 16, 2);

void setup() {

  //initialize lcd screen
  lcd.init();
  // turn on the backlight
  lcd.backlight();
}
void loop() {
  //wait for a second
  delay(1000)
  // tell the screen to write on the top row
  lcd.setCursor(0,0);
  // tell the screen to write “hello, from” on the top row
  lcd.print(“Hello, From”);
  // tell the screen to write on the bottom row
  lcd.setCursor(0,1);
  // tell the screen to write “Arduino_uno_guy” on the bottom row
  // you can change whats in the quotes to be what you want it to be!
  lcd.print(“Arduino_uno_guy”);

}